
I know that Christmas ornaments aren’t technically a food, and this is a food blog, but I have decided that since they are made out of flour, salt, and water, I can put them on here. 🙂


Tonight, I painted these with two toddlers. My daughter, who is almost two, and my nephew, who recently turned two.


This fun craft takes a little preparation. You will want to make the ornaments a couple of days before you paint them, so they have time to completely dry out.
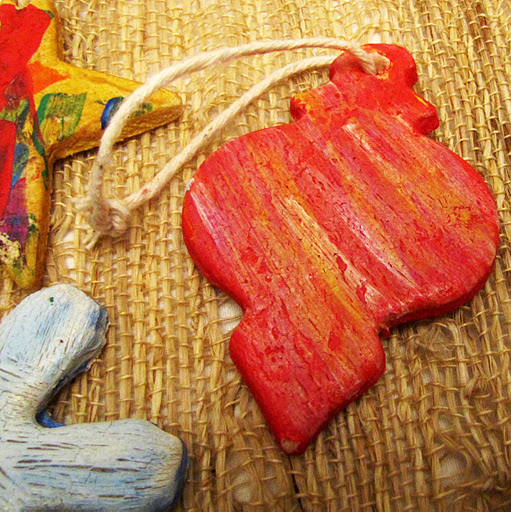
The ones that adults paint are pretty, but the real jewels are the ones the toddlers paint. Look at Daphne’s masterpieces! Sprayed with a little bit of polyurethane gloss varnish, and stored in a cool dry place, these babies will last forever. I used a sharpie to put her name and the year on the back of them, and she made one for our tree, one for Nanny, one for Grandma, and one for Auntie Erin. 🙂


Since I was painting with two toddlers, I used washable Crayola paint. It can crack, etc. If you’re doing this with kids who are old enough to be careful, I’d use a nice acrylic paint.

Thanks to kayelliot for the “recipe.” 🙂


Step 1. Make the dough
Put 1/2 cup table salt, 1/2 cup water, and 1 cup all-purpose flour into a mixer, and blend together until a sticky dough forms. If you want to experiment with color, you can substitute 1/2 cup of dark tea or coffee for the water. Make sure all of the flour is incorporated. Take the dough out, and knead for 7 to 10 minutes on a well-floured surface.
Once it feels smooth and elastic, you are ready to start making ornaments. This amount of dough was enough to make six gnomes, two snowmen and eight snowflakes of different sizes. The recipe can easily be doubled, but be sure to keep any dough you are not using wrapped in plastic wrap, and work quickly – salt dough does not like to sit.
Step 2. Make the ornaments
Salt dough is extremely flexible and forgiving, so you can make ornaments from it in a variety of ways. For this batch, I rolled it out like sugar cookie dough until it was about 1/4″ thick, and then used my favorite cookie cutters to make a variety of shapes.
Step 3. Bake ’em
Once the ornaments are formed, poke them with a bamboo skewer to make holes to hang them from. Once you have the holes in, it is time to pop them in the oven. Essentially, you want to dry out all of the moisture in them, so they go in a 200 degree oven for 4-6 hours – I left mine in overnight. Once they are hardened, take them out and let them cool completely.
Step 4. Decorate & Finish
Like I said above, I used washable Crayola kid’s paint. You could use acrylic paint, or even markers to decorate these ornaments.
If you want your ornaments to last years and years, coat them with 3-4 very thin coats of polyurethane gloss varnish. Make sure to cover every exposed surface. This seals them and helps prevent moisture from getting in. Once they are sealed, you can deck them out with glitter if you like. Store them in a cool, dry place and you will enjoy them for years to come.


Thanks for sharing this idea. I am planning on doing an old fashioned country Christmas tree next year and these would be perfect.
Wonderful! I'm of the belief that you can NEVER start planning your next Christmas too early! 🙂 Thanks for visiting!